Pattern 950036
2024-04-29
Introduction to Leather Embroidery: Lesson One
2024-05-11EMBROIDERY TIPS
Logo Embroidery 101: Getting Started
POSTED ON MAY 11th,2024 BY BAi

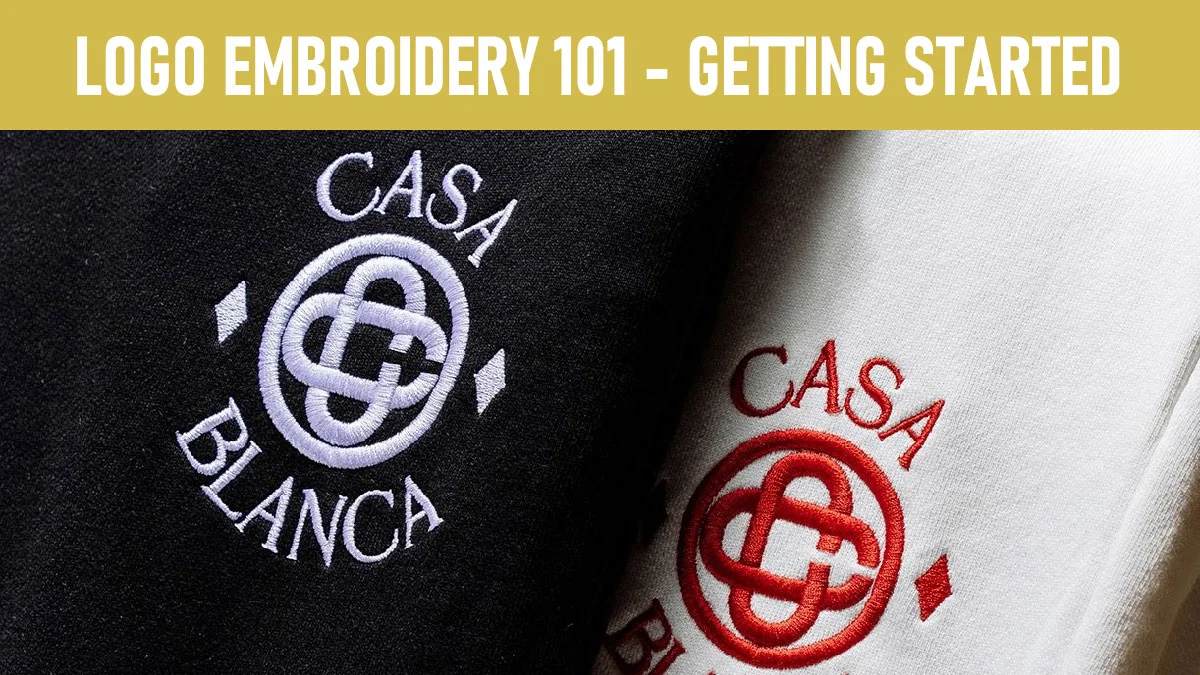
Logo embroidery is a technique of applying specific trademarks, logos, or graphic designs onto various items through embroidery. This method is commonly used for creating workwear, promotional products, gifts, and more. Today, we'll delve into the details of logo embroidery.
The Charm of Logo Embroidery
More and more embroidery shop owners are choosing logo embroidery services. For those who are new to logo embroidery, they must be wondering about the steps involved. Let's take a look at the logo embroidery process.
1、 Prepare the Logo Design: Firstly, you need to prepare the logo design. Ensure that the design is clear, high-quality, and suitable for embroidery. You can create the logo design using computer software or hand-draw it, and then convert it into an embroidery design. Next, you'll need to convert your logo design into an embroidery file format such as DST, PES, EXP, etc. This can be done using professional embroidery software or online embroidery design conversion services. Make sure to generate the appropriate embroidery file format according to the requirements of your embroidery machine.

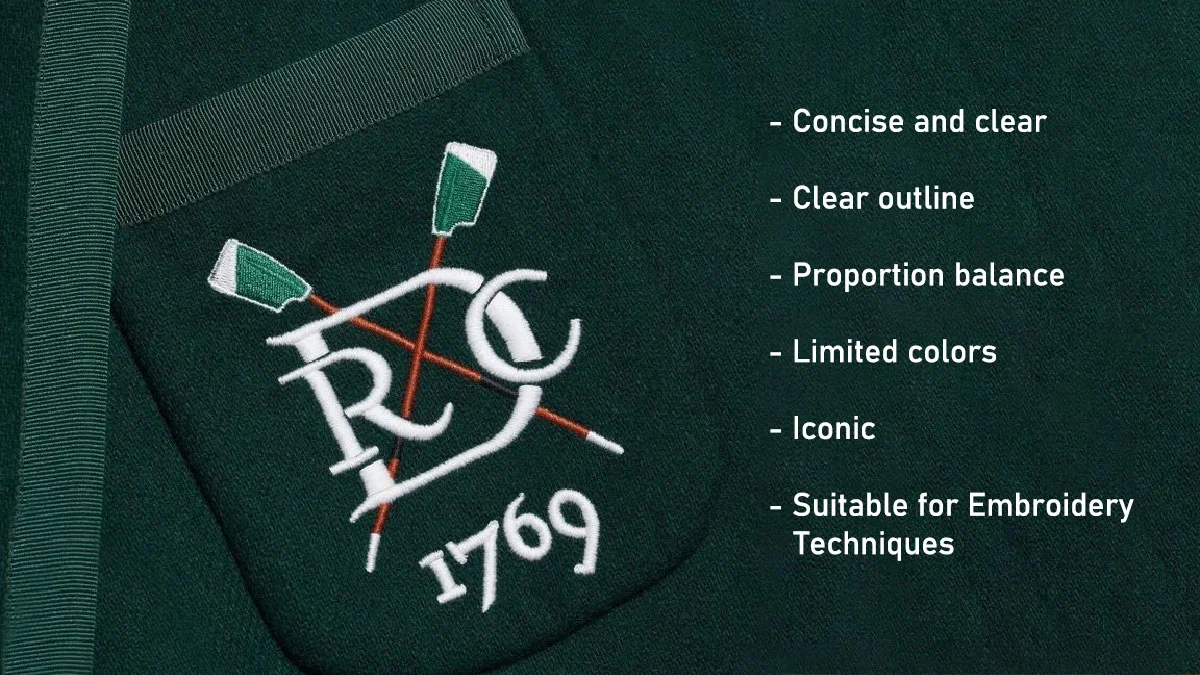
Logos that meet the following criteria are suitable for embroidery:
oncise and clear: Embroidery details are limited, so simple designs are easier to convert into embroidery patterns, avoiding overly complex lines and details.
Clear outline: The logo has a clear outline, simple lines, and minimal details or gradient colors to ensure clear and recognizable lines during embroidery.
Proportion balance: The elements of the logo are proportionally balanced, avoiding elements that are too large or too small to maintain overall balance during embroidery.
Limited colors: Embroidery typically utilizes a limited color palette, so it's best to restrict the number of colors in the logo design to ensure accurate representation during embroidery.
Iconic: The logo design should be unique and distinctive, making it easy for the brand or company to be recognized and remembered.
Suitable for Embroidery Techniques: Consider whether the logo design is suitable for different types of embroidery techniques, such as flat embroidery, 3D embroidery, or appliqué embroidery.
In summary, a suitable logo design for embroidery should be concise, clear, and distinctive, taking into account the limitations and requirements of embroidery techniques.

2、Prepare Embroidery Tools: If you have prior embroidery experience, you should be familiar with the tools needed. In addition to the embroidery machine and its accessories, you'll also need suitable scissors. For determining the embroidery placement, prepare measuring tools like a ruler and marking pen.
Preparing Embroidery Threads and Needles: Choose threads suitable for logo embroidery. Select threads that match or contrast with the colors of your logo, depending on the desired visual effect. When choosing embroidery needles, consider the complexity of your embroidery project, the type of fabric, and your personal preferences. Ensure that the needles you select match the embroidery threads, and conduct some tests before embroidering to ensure compatibility between the needle tips and the fabric.
4、Prepare Embroidery Fabric: Logo embroidery can typically be applied to various types of fabrics, and the choice of fabric material depends on the requirements of the embroidery project, design style, and usage environment. It is commonly applied to items such as T-shirts, caps, workwear, leather, etc.
5、Prepare Embroidery Stabilizer: When embroidering logos, you may need to use stabilizer (also known as backing) to enhance the stability of the fabric and improve the embroidery effect. Stabilizer helps prevent the fabric from distorting or wrinkling during the embroidery process, ensuring better embroidery results. You can choose the appropriate stabilizer based on the type of embroidery fabric.
6、Adjust the Embroidery Machine: Based on the model and requirements of the embroidery machine, adjust the settings of the machine. This includes thread tension, needle height, embroidery speed, etc. Make appropriate adjustments according to the thickness of the embroidery material and the detail requirements.

Logo Embroidery Process
Generally, the Logo embroidery process involves the following steps:
1、Prepare the necessary tools and materials for embroidery.
The materials needed for Logo embroidery are mentioned in the previous section. Prepare according to your needs. In addition, you need to check and adjust the embroidery machine, such as threading and testing tension. Finally, remember to import your Logo pattern into the embroidery machine via a USB drive.
2、Secure the embroidery base fabric.
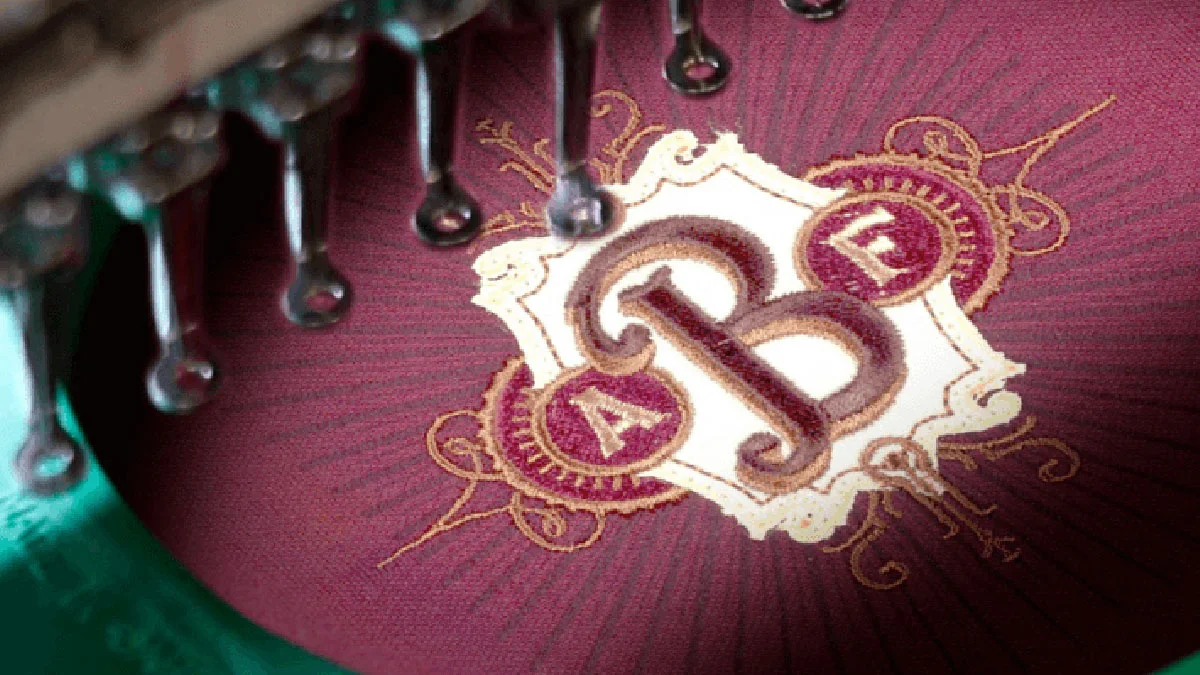
Follow the instructions for using the embroidery frame to hoop the base fabric, adding appropriate stabilizer if needed. Then, fix the embroidery frame onto the embroidery machine's hoop, ensuring it is securely in place.
3、Operate the machine:
Once the embroidery hoop is mounted on the embroidery machine, you can start by setting the hoop size, choosing the pattern, and setting the colors. It's advisable to run a test stitching to preview the final embroidery area. Make sure the embroidery area does not exceed the hoop to avoid damaging the hoop and the fabric.
4、Start the machine
Once the embroidery machine is set up, you can start the embroidery process. During embroidery, it's important to remain attentive, and if any abnormalities are noticed, stop the machine immediately. After confirming that the machine has completed all embroidery, power off the machine.
5、Inspect the embroidery
After the embroidery is completed, conduct a quality check to ensure that the lines and details of the logo are clear and the colors are accurate, ensuring that the embroidery meets quality standards. Perform any necessary post-processing tasks such as trimming threads, cleaning the embroidered fabric, etc., to finalize the logo embroidery product.
In this article, we have covered the basics of logo embroidery and some simple operational steps. We hope this article serves as a good starting point for you and inspires further exploration into the world of logo embroidery. Remember to continue practicing and honing your skills. In the next article, we will delve deeper into the techniques of logo embroidery, so stay tuned! If you have any suggestions or ideas, feel free to leave us a message. We welcome everyone's active participation.
-1.png)


Leave a Reply
You must be logged in to post a comment.