What you should know about choosing embroidery thread
2024-12-27How to Master the Selection and Use of Embroidery Adhesive
2025-01-10EMBROIDERY TIPS
Nine Essential Embroidery Tools
POSTED ON JANUARY 3rd,2025 BY BAi
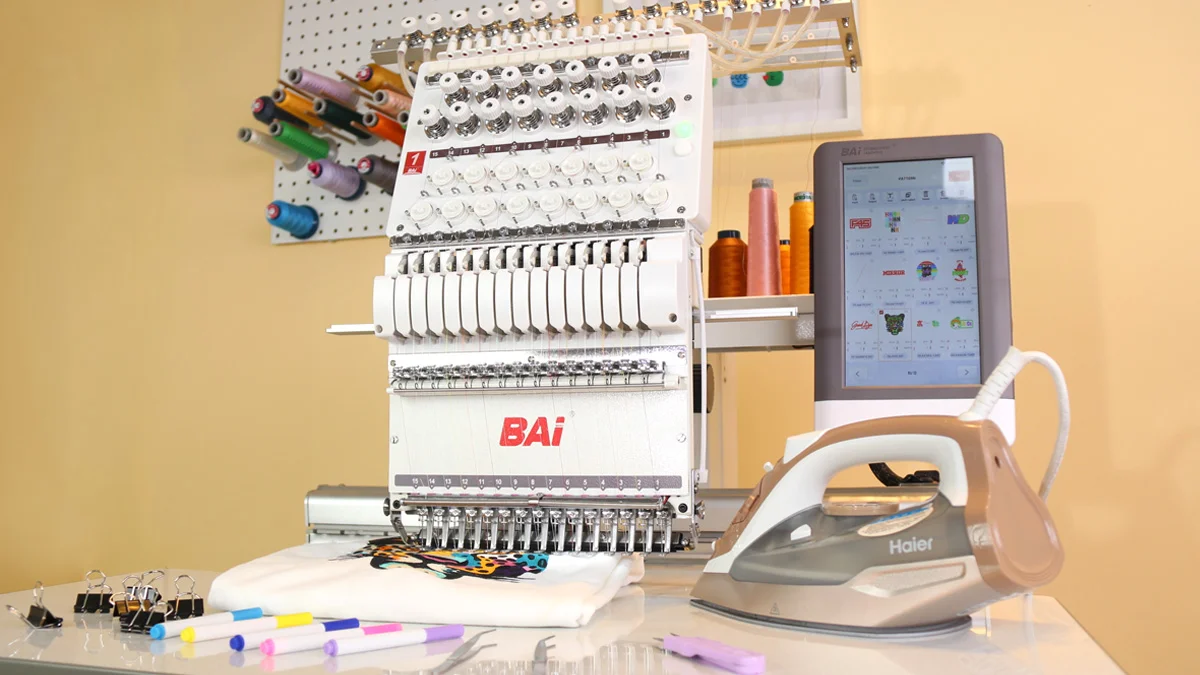
When using a commercial embroidery machine, besides having a complete set of accessories (such as embroidery hoops, wrenches, which are usually included with the machine), and possessing good embroidery skills, you can also try using some handy tools to improve efficiency and embroidery precision.
This blog will take you on a journey to explore various practical tools that can be used during embroidery. Let's get started!
#1 Applique Scissors
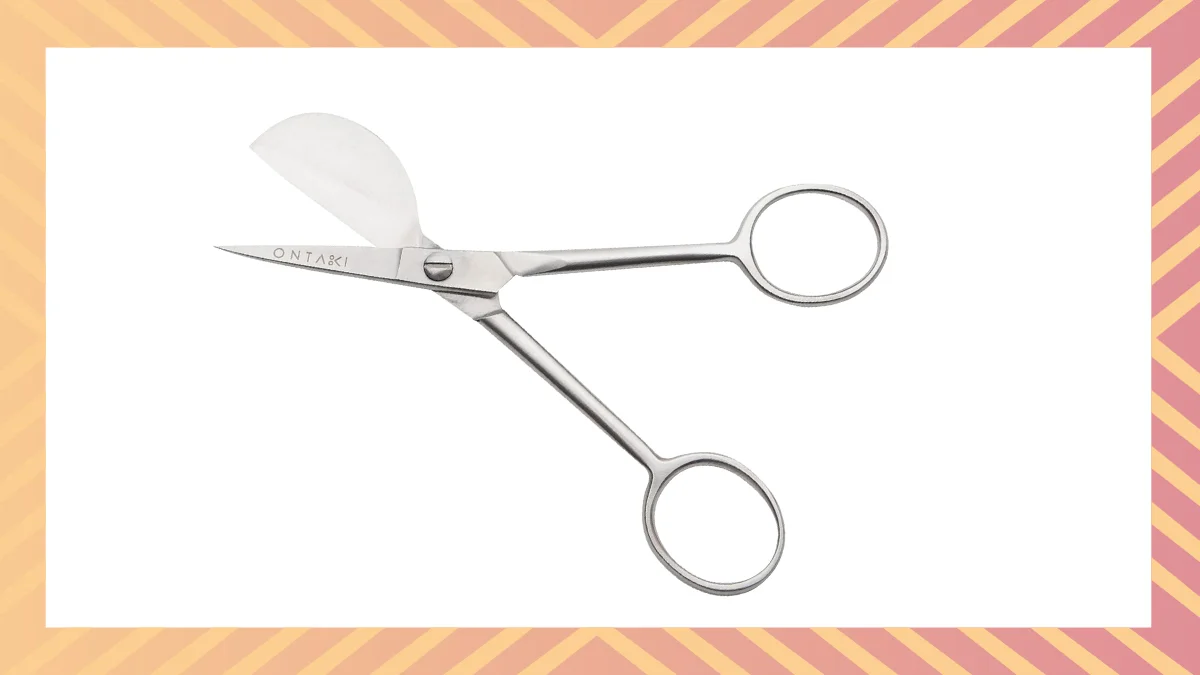
Applique scissors are a special kind of scissors designed specifically for embroidery and appliqué crafts. They're mainly used for the precise trimming of fabric after completing embroidery. Compared to regular scissors, applique scissors have finer and pointier tips, with curved blades. This design helps with accurate trimming in narrow and detailed areas, like fabric curves and intricate sections, making them perfect for delicate embroidery work.
What's more, the design of applique scissors focuses on cutting without damaging the base fabric. This allows for close trimming of the fabric without accidentally cutting through the underlying material, preventing any unintended damage. The trimmed pieces eliminate frayed edges and loose threads, making the embroidery details stand out more and giving an overall neater and more polished look.
Price: Basic applique scissors usually range from around 5 to 20 dollars. However, if you're looking for higher-end, professional-grade, or well-known brand applique scissors, they can cost 20 dollars or more.
#2 Thread Cutter Nipper
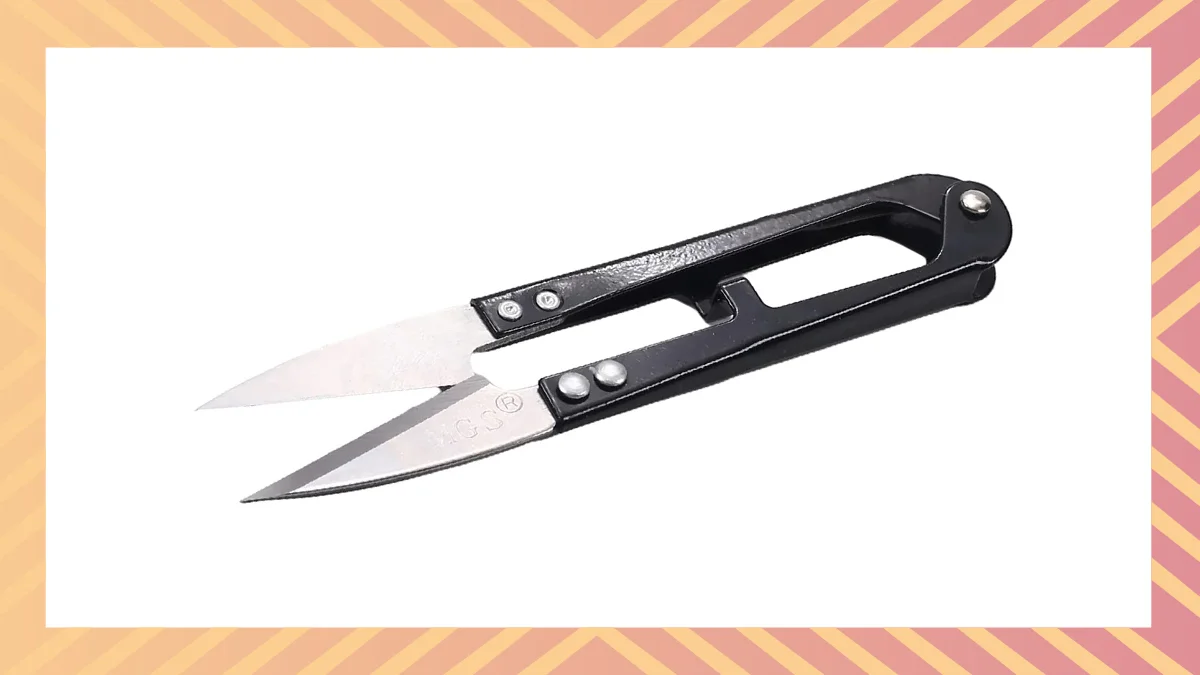
The Thread Cutter Nipper is a tool similar to scissors, featuring two short handles and two blades with a small notch. It is primarily used in embroidery for cutting thread ends and other fine materials. To operate, align the blades with the desired cutting position and apply pressure with the handles to complete the cut.
Price: Basic Thread Cutter Nippers usually range from around $2 to $10. Higher-end models or those with special designs and additional features may be more expensive, with prices exceeding $10.
#3 Tweezers
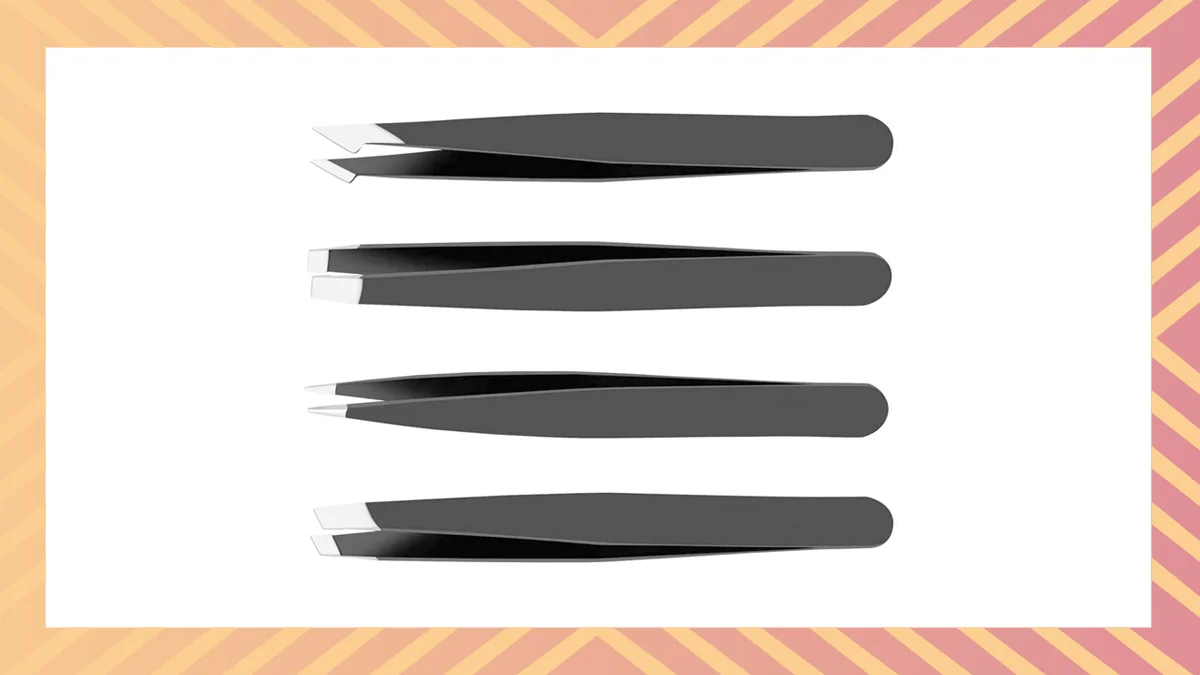
Ladies are certainly familiar with tweezers, as they are often used for grooming and shaping eyebrows before applying makeup. They are also commonly seen in crafts, DIY projects, and laboratory work. Tweezers have two arms with a slender tip (available in various styles), ensuring precise gripping of the target.
During embroidery, there may be thread ends or fabric fibers accumulated in the embroidery area. Using tweezers makes it convenient to remove these debris and keep the embroidery area clean. When there is a need to replace a broken thread or run out of embroidery thread, it can be challenging to insert the thread end correctly into the embroidery machine's thread guide with bare hands. Tweezers ensure accurate gripping of the delicate thread, allowing for a seamless transition between the old and new threads. Additionally, when fine adjustments are necessary, such as positioning thread ends or handling small details, tweezers enable more precise handling, thereby enhancing embroidery quality.
Price: Generally, basic tweezers can range in price from $1 to $10. Higher-end or professional-grade tweezers, such as precision tweezers used in medical or beauty applications, may be more expensive, with prices exceeding $10 or even higher. It is recommended to purchase the basic ones, as they would suffice for most general purposes.
#4 Thread Organizer
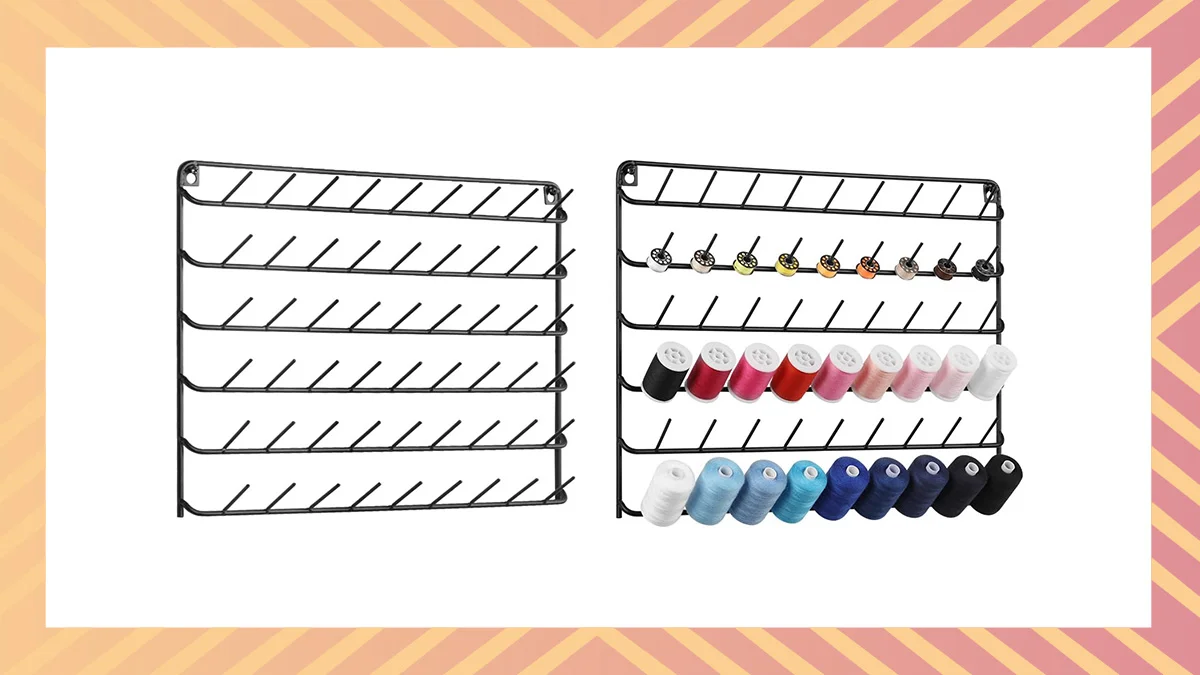
Embroidery threads come in various colors, materials, and thicknesses. Without a tool to store and organize them, it's easy to encounter situations like this:
You were planning to use a pink 120D/2 rayon thread for your embroidery, but you can't find it anywhere. You rack your brain trying to remember where you put it—was it in a bag? A drawer? Or maybe in a storage box? After spending over ten minutes searching through a pile of differently colored embroidery threads, you finally spot it, only to realize that it's actually a 108D/2 polyester thread. What a bummer!
The introduction of a Thread Organizer has greatly improved such situations. By using a Thread Organizer to sort and store your embroidery threads, you can keep them neat and significantly increase your embroidery efficiency.
When choosing a Thread Organizer, thread racks are often the preferred option. They typically feature a wall-mountable design, which helps save desk space while allowing you to visually identify the colors and materials of the threads, making it easy to grab and use them whenever needed. Moreover, the individual slots prevent tangling and keep the threads organized. Additionally, you can opt for storage boxes, drawers, or thread spools based on your specific needs.
Thread Organizers can also serve other purposes, such as securing and storing other small items like jewelry, keychains, umbrellas, and even hair accessories. Choose a Thread Organizer and say goodbye to the hassle of searching for your threads.
Price: Generally, basic Thread Organizers can range in price from $5 to $20. However, larger, more complex, or feature-rich Thread Organizers, as well as those manufactured by well-known brands, can be more expensive, with prices reaching $30 or higher. For example, cabinet-style organizers tend to be more expensive but offer additional storage space and functionality.
#5 Seam Ripper
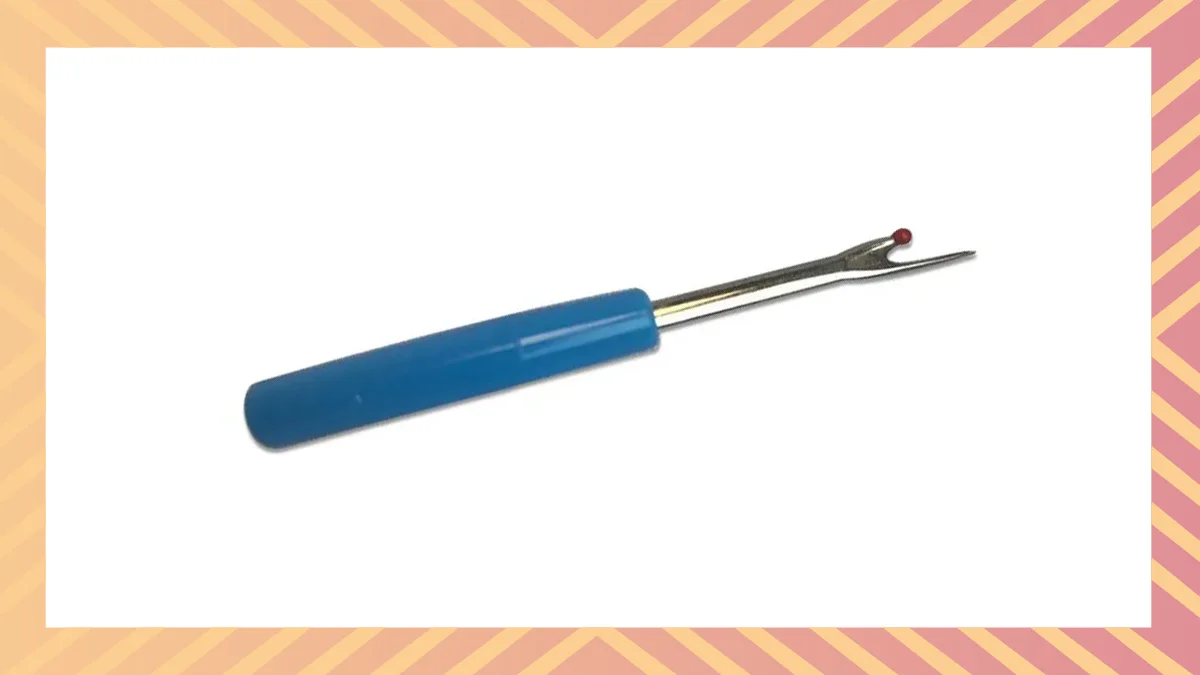
When you make a mistake while embroidering or want to redo a letter combination, a Seam Ripper can provide the desired effect. It is almost irreplaceable when it comes to correcting embroidery errors, changing thread colors, or adjusting designs.
A Seam Ripper typically consists of a handle and a blade that resembles a tiny tree branch. The unique shape of the blade allows for easy cutting or unpicking of stitches, while the compact design enables precise manipulation on the fabric. Carefully insert the blade into the stitch, gently move the Seam Ripper, and you can cut through the stitches. Then, adjust your embroidery machine to the position where the stitches were cut and continue embroidering. It's important to note that using a Seam Ripper requires some caution and isn't always foolproof. If your fabric is thin and delicate, it can easily result in damage. Therefore, it's essential to carefully plan before embroidering. Prevention is always better than having to fix mistakes.
Price: Basic Seam Rippers can range from $1 to $5, while high-quality, uniquely designed, or branded Seam Rippers may cost between $5 and $15.
#6 DisappearingInk Pen
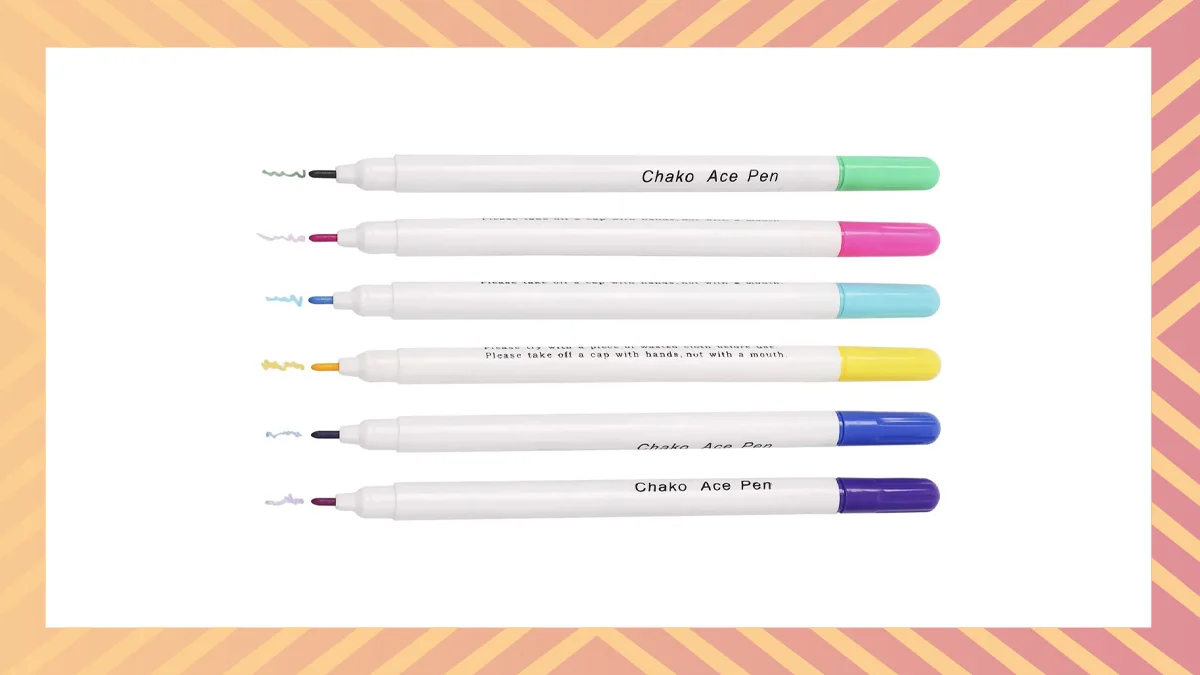
It's truly unfortunate when a design that was meant to appear on the left chest of a garment ends up on the abdomen. Not only do you lose the garment as a blank canvas, but you also lose valuable time. Moreover, if the garment was provided by a customer, it can affect your reputation with them.
To prevent such mishaps, you can use a Disappearing Ink Pen to draw the design on the fabric, marking the important embroidery positions. This allows the embroidery hoop to be positioned accurately, ensuring precise layout. The ink used in these pens is specially formulated to naturally disappear after a certain period of time, eliminating the need for further cleaning. It's convenient and hassle-free. Remember to always cap the pen after use to prolong its lifespan.
Price: Inexpensive Disappearing Ink Pens can range from $1 to $5, while higher-quality or branded options may cost between $5 and $15. Products with additional features, multi-functionality, or advanced technology might be more expensive. Since the consumption of ink can be frequent, especially if you have multiple embroidery projects, you can consider purchasing a set or stocking up on multiple pens.
#7 Binder Clips
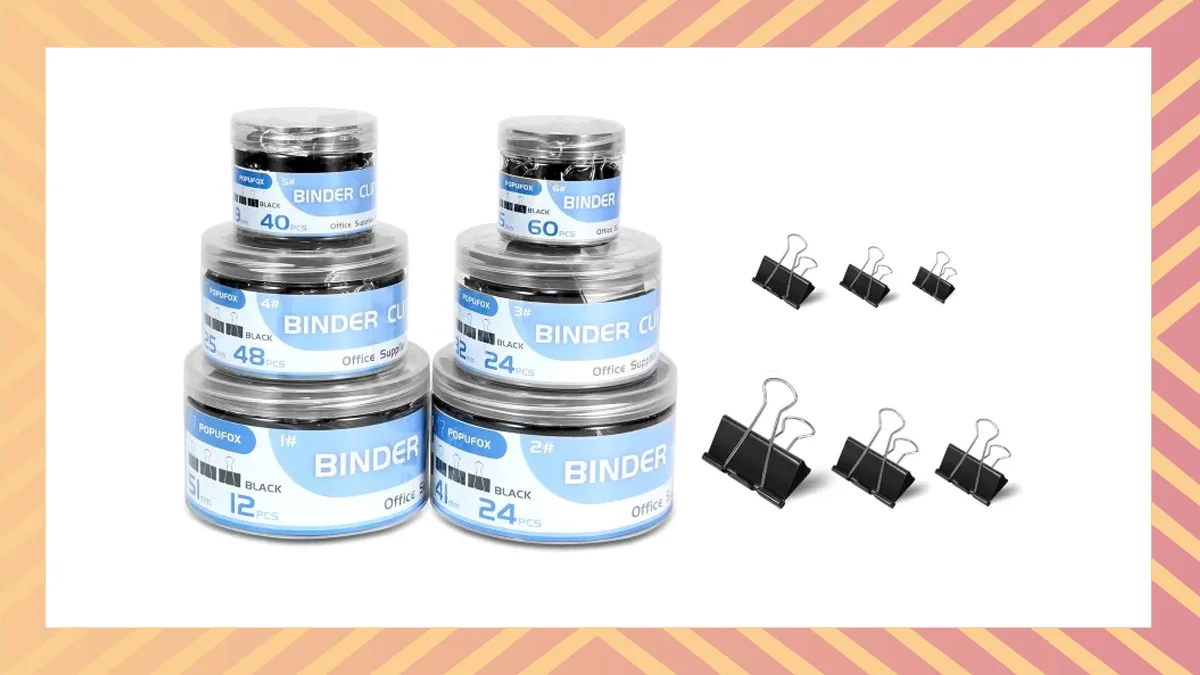
Binder clips may seem unassuming, but they’re incredibly useful when it comes to embroidery. Using binder clips to secure excess fabric onto your embroidery hoop prevents the fabric from shifting or loosening during the stitching process, ensuring the design stays in the right position.
Once the fabric is fixed and taut, the entire embroidery process becomes smoother and more efficient.
However, be careful when using binder clips to avoid damaging the fabric or embroidery threads. Also, pay attention to the placement of the clips, ensuring they don’t interfere with your stitching.
Price: This is likely the most affordable item on this list – you can grab a large box for just $10. Binder clips are available in various brands and sizes at local stationery stores, office supply shops, or online marketplaces.
#8 Iron
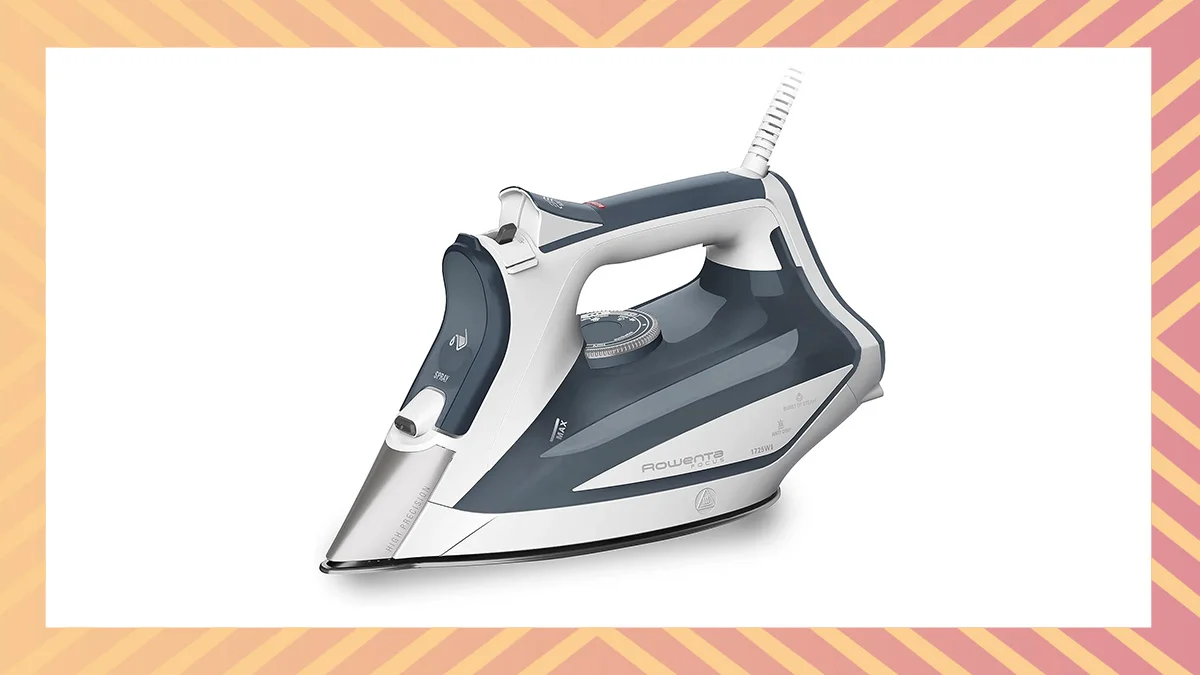
An iron is commonly used in embroidery for finishing touches and shaping. After completing an embroidery project, you can set your iron to a low temperature and gently press the embroidered fabric to remove creases and make the entire piece smoother. If you are using high-temperature disappearing film, ironing after embroidery can help secure the design and remove any residual marks.
When using an iron in embroidery, it's important to keep the following points in mind:
- Use a low temperature: This prevents damage to the embroidery thread or fabric.
- Use a damp cloth: Before ironing, you can place a damp cloth on top of the embroidered fabric. This helps increase moisture and allows heat to distribute more evenly onto the fabric.
- Handle delicate fabrics with care: Fabrics like silk or plush can easily get damaged during ironing, so it's best to avoid using an iron on them.
- Perform a test beforehand: It's advisable to conduct a small test in an inconspicuous area before using the iron to ensure that the selected temperature and method won't cause any harm to the finished piece.
Price: There is a wide range of options available. Basic and inexpensive irons can cost around $10, while more advanced, multi-functional, or branded irons can range from $20 to even hundreds of dollars.
#9 Lighter
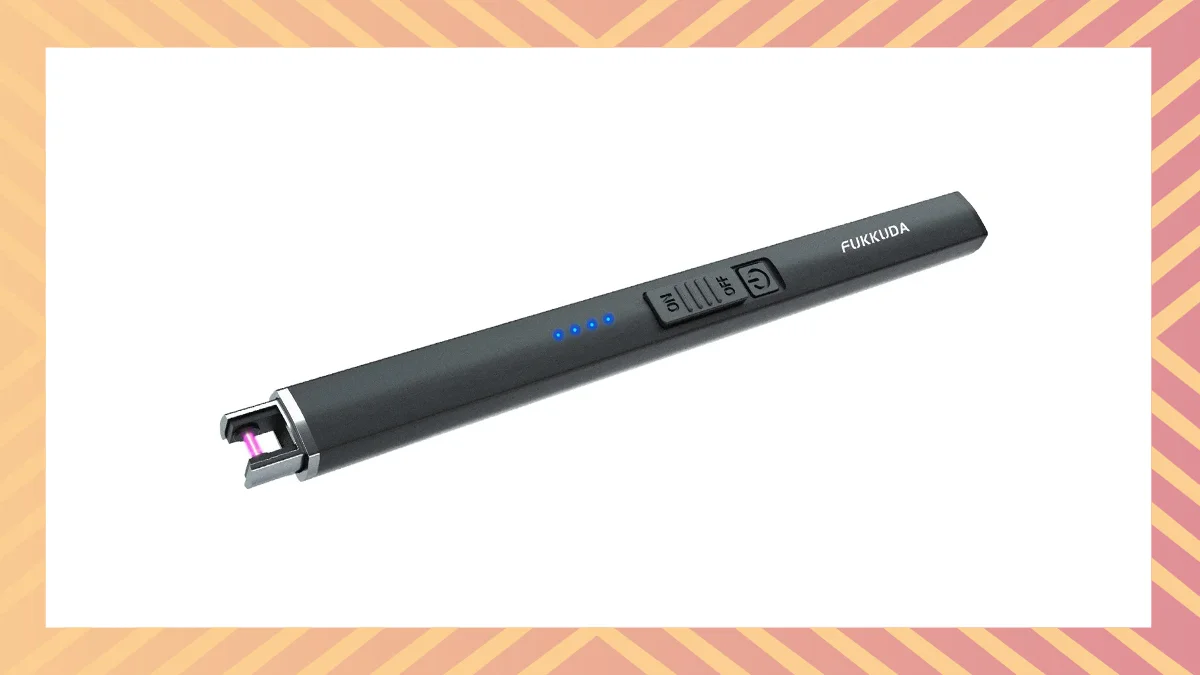
While a lighter involves an open flame and can be a slightly dangerous tool, it can be surprisingly useful when dealing with the ends of embroidery threads. Using a lighter, you can gently heat the end of the embroidery thread, causing it to melt and form a small, fused ball that prevents the thread from unraveling. After washing, there are hardly any traces of the melted end. Sometimes, the thread end may appear rough due to uneven cutting, and using a lighter can smooth out the embroidery thread, preventing the rough part of the end from poking into the fabric.
When using a lighter, it's crucial to exercise special caution. Avoid letting the flame come into direct contact with the embroidery thread or fabric to prevent any safety issues. Additionally, avoid holding the flame too close to the thread end, as excessive heating can damage the thread or cause the end to lose its shape.
Price: Disposable plastic lighters are typically the cheapest option and can cost less than $1. Reusable metal lighters or multi-functional lighters like Zippos can range from $5 to $20.
Well, that's all there is to this article, and we hope that after reading it you will be able to choose and buy embroidery thread more easily and complete your embroidery project successfully! If you have any other questions, feel free to contact us, we're always here.
-1.png)
