-1.png)
How to make flat embroidery with BAi?
2022-09-18How to thread your BAi Machine quickly?
2022-10-30
How to open wooden case & assemble your BAi machine?
Hello, friends, welcome to today’s sharing. If you have purchased a BAI machine, are waiting for the machine to arrive or have received the machine but do not know how to unbox and assemble it, then this blog will be of great benefit to you. OK, let’s start.
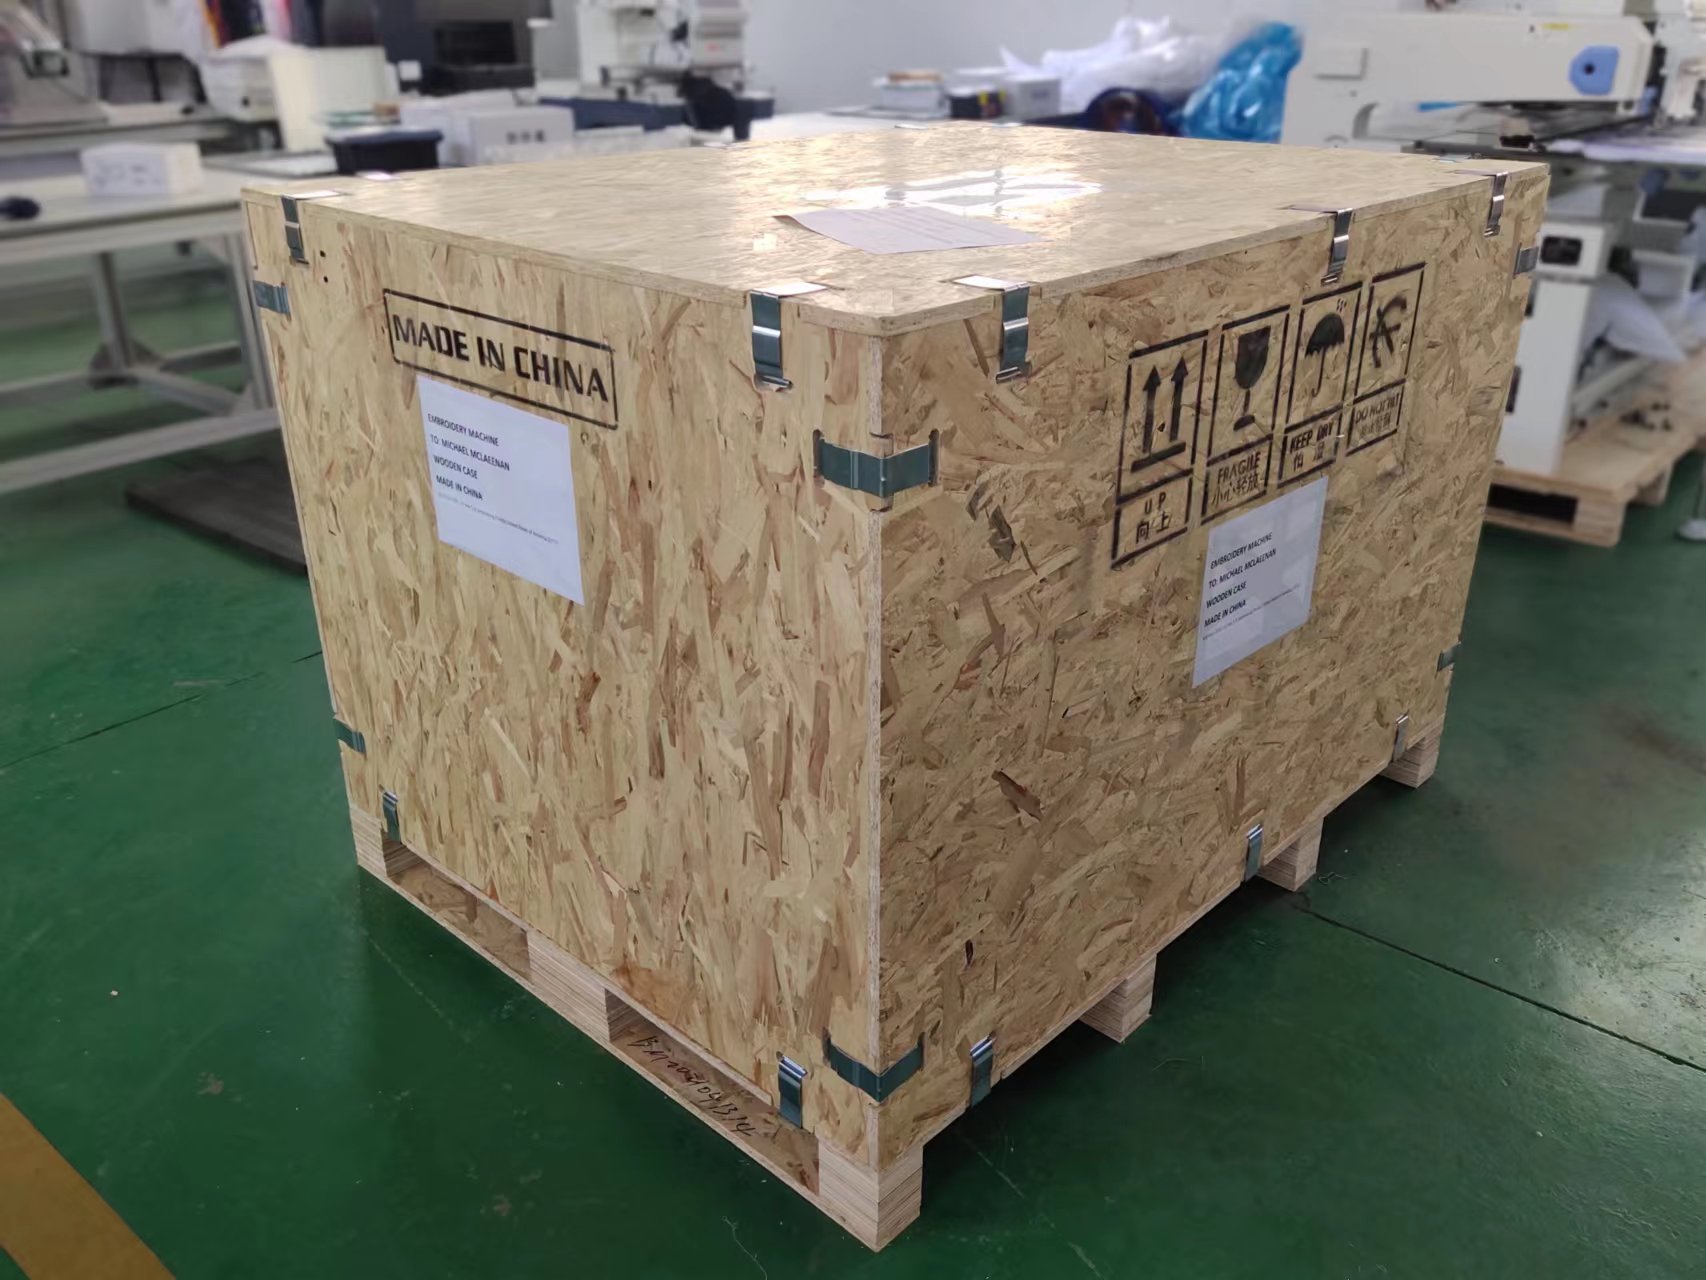
Firstly, let’s learn how to open the wooden case.
Step 1: Prepare a screwdriver
Before opening the wooden case, you need to prepare a flat screwdriver firstly. Just as the picture below.

Step 2: Remove the top board
First, you need to use the flat screwdriver to remove all the buckles above the wooden case. There are 8 buckles in total. After that, remove the top board. For this step, you’d better to find a partner to help you.
Step 3: Remove the front board
Use flat screwdriver to remove the buckle on the front of the wooden case and then remove the front board.
Step 4: Take off the table
The purpose of taking away the table in time is to prevent it from being accidentally dropped when remove the surrounding plates and cause injury.
Step 5: Disassemble all the boards
Remove all remaining buckles around the case, and then disassemble all the boards.
Step 6: Move all the accessories in the case
After disassembling all the boards, you should move all the accessories in the case. Pay attention to the inventory of accessories, it should include: table legs , fixed feet , universal wheels,Aluminum frame, cap station, flat table, T-shirt hoops, four fixed plates, winding machine, a pack of screws, plastic pad, toolbox, large wrench, T-shirt armrests, power cable, manual, clips.
Step 7: Move machine head
In order to prevent the machine head from being hit, the head is bolted on the case base by two screws. Before removing the machine head, you first need to remove the two screws. The position of screws is as the below picture. Find it and use the largest wrench to remove it.
At this point, the entire unboxing process is over.
Next, let’s learn how to assemble the machine.
Step 1: Prepare the assemble tools
After unboxing the wooden case, you could find the necessary tools for installation. That is: 2 pcs of table legs, universal & fixed feet, plastic pad, 4 pcs of fixed plates, a pack of screws, a wrench. Just find them and ready to assemble.

Step 2: Assemble the stand
Keep the legs in the right direction, note that all legs holes should face inside. Then find the four fixed plates which match the legs. Next, prepare some washers and screws, then connect the legs and the fixed plate with screws. After that, fix the screws with wrench.
Step 3: Install wheels
It should be noted that we need to install the universal wheels first and then the fixed feet.
Turn the installed stand over, put universal wheels on the corresponding four corners and then fix the universal wheels with screws. Next, put the four fixed feet on the four corners and screw it. You should note that the fixed wheel must be lower than the universal wheel. After that, turn the installed stand over again. Then fix the universal wheels with your feet and adjust the height of the fixed feet, letting the four fixed feet support the stand stably.
Step 4: Put machine on stand
Put the plastic gaskets on the stand, then put machine head on the stand. After that, fix the machine head with screws.
OK, friends, that’s all for today’s sharing. Let’s meet in our next blog.