-1.png)

How to choose embroidery thread with BAi?
2022-05-23
What accessories will an embroidery machine need?
2022-05-24

How to embroider 3D caps?
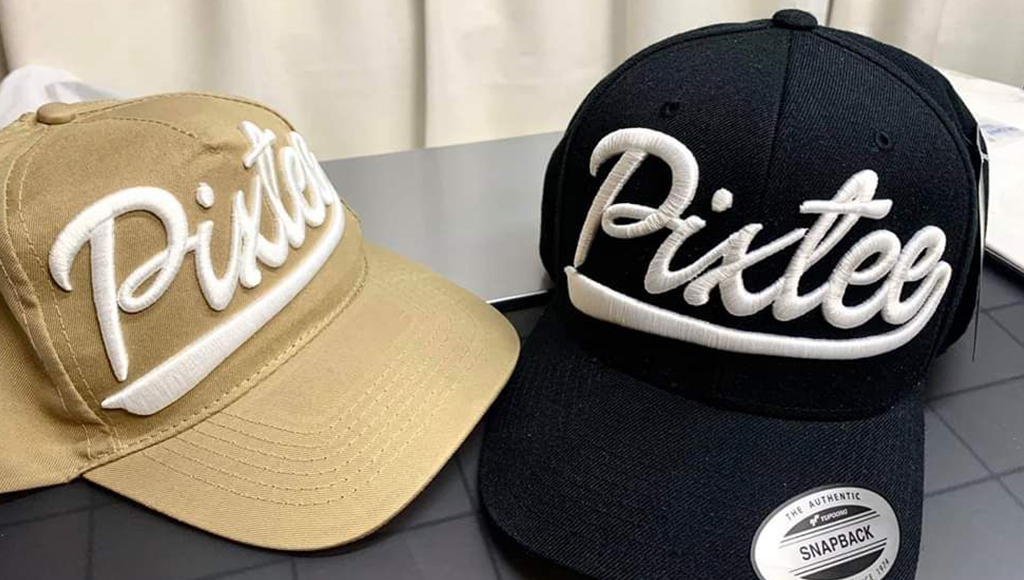
Do you want such a cap ?
Nowadays, many people love this kind of 3D caps, and many embroidery shop owners often receive orders of embroidered 3d hats. For the majority of embroidery shop owners, it is necessary to learn how to embroider this 3D cap, which will expand your business scope. Today we will share how to embroider 3D hats.
The process need four steps.
First step: prepare accessories
When embroidering caps, firstly you need to prepare the corresponding accessories and tools. That's cap hoop, cap station and cap driver, as well as hexagon wrench. Just as following picture.

Step 2: clip the cap
After preparing all the cap embroidery devices, firstly fix the cap station on a table, then install the cap hoop on the cap station. Remove the clips on the cap hoop, loosen the chain on the cap hoop and clip the cap. After that, adjust the cap center point, fix cap, and press the three buttons together on the cap hoop, finally take off the cap hoop.
Step 3: install cap driver
Next, choose cap hoop on controller, then install cap driver on machine and tighten the screws. Finally, install the cap hoop, alignment the position of cap and press buttons on cap hoop to fix cap. At this point, the installation work is completed.
Step 4: electronic control operation
Next, choose embroidery pattern, choose embroidery direction and press “Edit” button to enter embroidery status. Then select embroidery colors, “M” button means manual change color, “A” button means automatic change color. Keep the pattern in the embroidery area. “-” button means reduce speed, “+” button means increase speed. After that, start embroidery, finish the base color embroidery. Next step, add 3D foam glue, then continue embroidering, finally 3D cap embroidery is completed.
There are a few key things to keep in mind when embroidering hats.
1. The cap should be firmly fixed on the cap hoop without any looseness. Once there is any looseness, the final embroidery quality of the cap can suffer greatly. At the same time, the cap drive should also be tightened on the machine, the screws should not be loose, and the cap drive should be locked in place.
2. Before embroidering, there is a question that should be considered clearly, that is, what size pattern is suitable for this cap to embroider. Different caps are suitable for embroidery patterns in different sizes. If the embroidery pattern is too large and exceeds the size of the cap, the cap will be pulled and broken.
3. At the same time, the distance between the edge of the pattern and the brim of the cap should not be less than 1.5cm, otherwise the needle will easily break.
OK, friends, this is the ending of this blog, more useful tips would be shared in our next blog. And, you can also check related information on our YouTube Channel: BAI TV.